
Understanding the Importance of Vapor Barrier Installation
Role of Vapor Barriers in Home Protection
Vapor barriers play a crucial role in protecting homes from moisture damage. These barriers act as a shield against water vapor that can seep through floors and walls, helping to maintain a dry environment. By preventing moisture intrusion, vapor barriers significantly reduce the risk of mold growth, wood rot, and structural damage. A well-installed vapor barrier can prolong the life of your home’s foundation and insulation system, offering peace of mind and improved indoor air quality.
Common Issues Caused by Absence
Without a properly installed vapor barrier, homeowners may face a range of issues. High humidity levels can lead to mold and mildew, which can negatively impact health and create costly repair bills. Additionally, excessive moisture can damage electrical components and insulation, leading to inefficient heating and cooling. In severe cases, structural integrity can be compromised due to wood rot and foundation settlement, often resulting in expensive remediation efforts.
Choosing the Right Type of Vapor Barrier
Selecting the appropriate vapor barrier is essential for effective protection. There are several types of vapor barriers available, including polyethylene sheets and foil-faced products. The choice often depends on factors such as climate, soil conditions, and the specific needs of your home. For example, polyethylene sheets are typically used in humid climates, while foil-faced barriers may be better suited for warmer regions where reflective properties are beneficial. Consulting industry guidelines and local building codes can help in making an informed decision.
Step-by-Step Guide to Vapor Barrier Installation
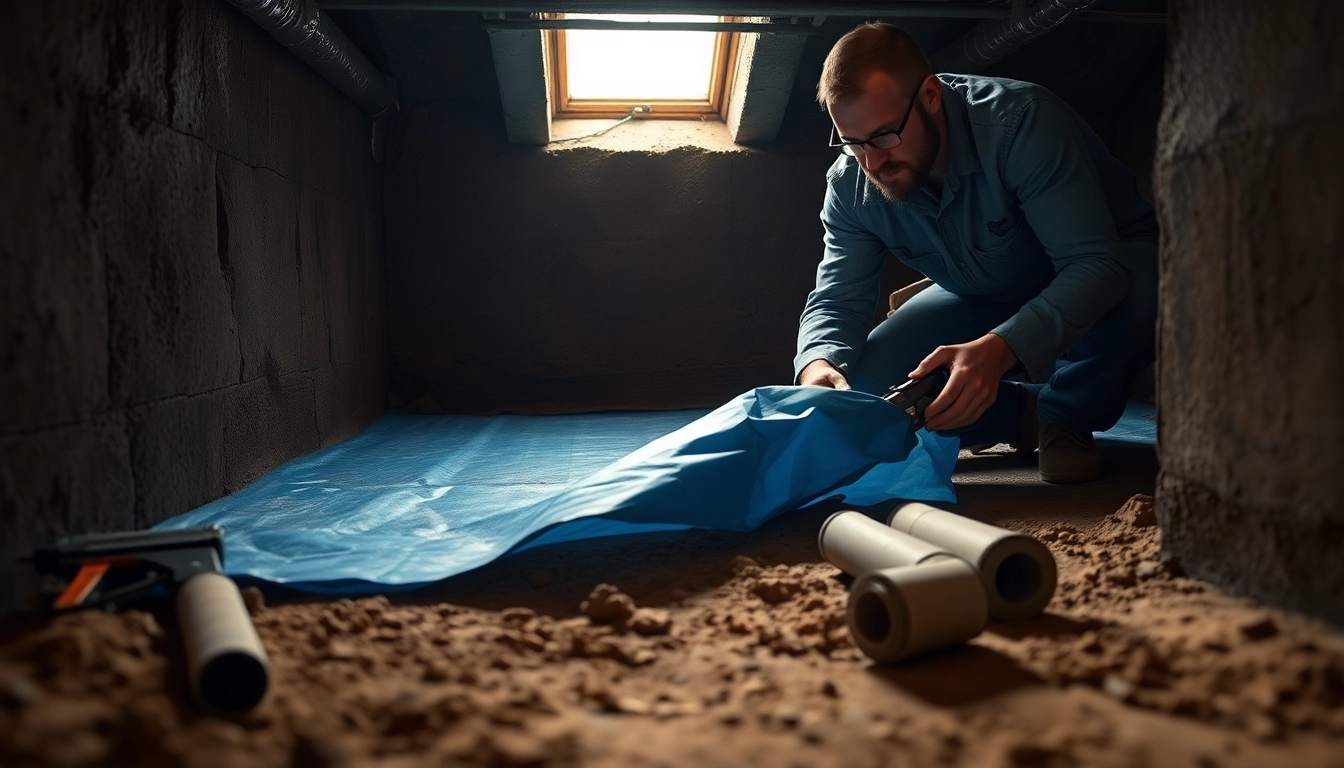
Preparing Your Crawl Space for Installation
Before beginning the Vapor Barrier Installation, it’s essential to prepare the crawl space adequately. Start by clearing the area of debris, ensuring that the ground is smooth and free of sharp objects. Address any existing moisture issues, such as leaks or standing water, as these can undermine the effectiveness of the barrier. Ensure that ventilation systems are functional and consider using a dehumidifier if the crawl space is particularly damp.
Tools and Materials Needed for Successful Installation
For a successful vapor barrier installation, gather the necessary tools and materials beforehand. Essential tools include a utility knife, measuring tape, and stapler, while materials generally consist of the vapor barrier material itself (usually a thick polyethylene sheet), adhesive for seams, and tape. Depending on the specifics of the installation, additional materials like insulation or drainage systems may also be required. Having everything ready will streamline the process and ensure a thorough job.
Common Mistakes to Avoid During Installation
The installation process can be straightforward, but several common mistakes can jeopardize its effectiveness. One frequent error is improper seam sealing—neglecting to adequately seal joints can allow moisture to penetrate, rendering the barrier ineffective. Additionally, failing to ensure the barrier is installed under the insulation can also lead to condensation issues. Careful measurement and attention to detail during installation can help avoid these mistakes.
Evaluating Your Existing Vapor Barrier System
Signs of Wear and Tear in Vapor Barriers
Over time, vapor barriers can degrade, allowing moisture to enter spaces where they were once effective. Signs of wear may include visible tears or punctures, mold growth on or around the barrier, or the presence of moisture in the crawl space. Homeowners should routinely check their vapor barrier, as early detection of wear can prevent more significant issues down the line.
Efficient Methods for Inspection
Regular inspection of your vapor barrier is crucial for maintaining its effectiveness. To conduct a thorough examination, start by looking for obvious signs of damage. Next, check the perimeter of the barrier for any gaps or incomplete sealing. Use a moisture meter to gauge moisture levels in the air and the ground. If you detect issues, consult a professional for further assessment and possible remediation.
Repair vs. Replacement: Making the Right Choice
Determining whether to repair or replace your vapor barrier depends on several factors, such as the extent of damage and the age of the current barrier. Small tears may be easily repaired with tape or adhesive, while extensive damage or age may warrant a full replacement. Consulting with a specialist can provide clarity on the best option for your situation, helping to ensure long-term moisture protection.
Benefits of Professional Vapor Barrier Installation
Long-Term Cost Savings on Home Repairs
Investing in a professional vapor barrier installation can lead to significant long-term savings. By preventing moisture intrusion, homeowners can avoid costly repairs related to mold, structural damage, or electrical issues. Additionally, professional installation often comes with warranty options, providing additional financial security should issues arise in the future.
Expertise in Handling Complex Situations
Professional installers bring valuable expertise to the table, equipped to handle challenging situations that may arise during installation. Whether navigating complex drainage systems or assessing unique environmental factors, experienced professionals can ensure a comprehensive installation tailored to the specific needs of your property. Their familiarity with best practices can enhance the overall effectiveness of the vapor barrier.
Ensuring Compliance with Local Building Codes
Local building codes often dictate specific requirements for vapor barrier installation, ensuring that homes meet safety and performance standards. Professional installation guarantees compliance with these regulations, protecting homeowners from future legal or financial complications. Understanding local codes is essential to ensure that your home maintains its value and meets necessary safety standards.
Frequently Asked Questions About Vapor Barrier Installation
What materials are best for vapor barriers?
Polyethylene sheets are commonly used due to their moisture resistance, but foil-faced materials can also be effective in specific climates for reflective purposes.
How thick should a vapor barrier be?
A vapor barrier is typically 6 mils thick for standard protection, but thicker options (up to 20 mils) are available for commercial or high-moisture areas.
Can I install a vapor barrier myself?
While DIY installation is possible, professional installation is recommended for optimal effectiveness, especially in complex environments like crawl spaces.
How often should I inspect my vapor barrier?
Inspect your vapor barrier at least twice a year and after significant weather events to ensure it remains intact and effective against moisture intrusion.
What are the costs associated with vapor barrier installation?
Costs vary based on size and materials but generally range from $1,000 to $3,000 for professional installation, providing critical long-term protection for your home.